App Giving
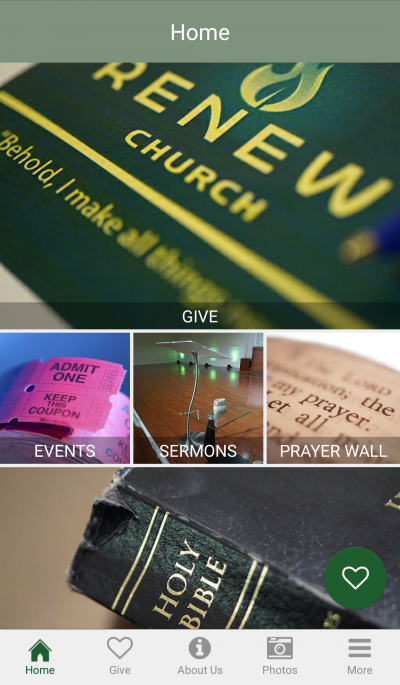
Step 2:
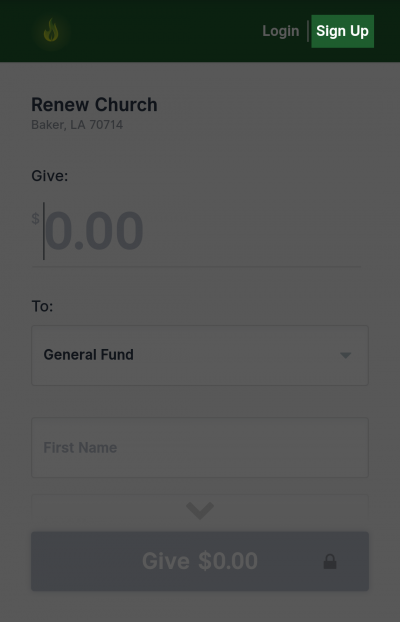
Tap “Sign Up” at the upper right-hand corner of the screen.
Step 3:
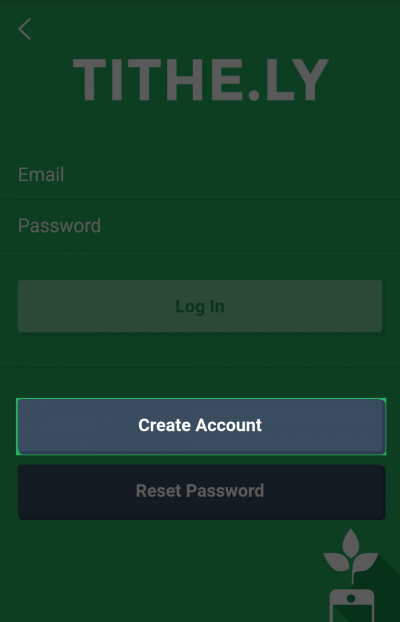
Tap “Create Account”
If you already have an account, log in while on this screen and skip ahead to step 5
Step 4:
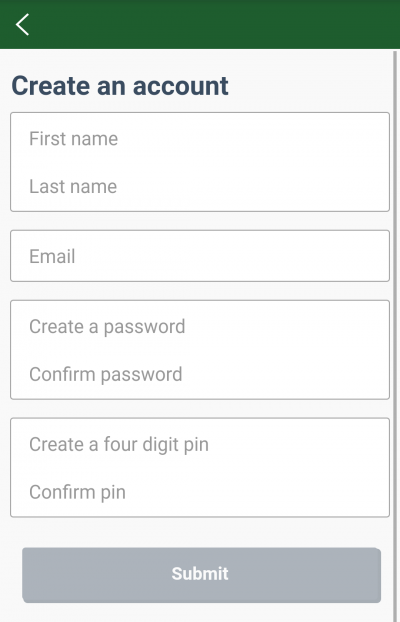
Enter all of the required information to create a new account.
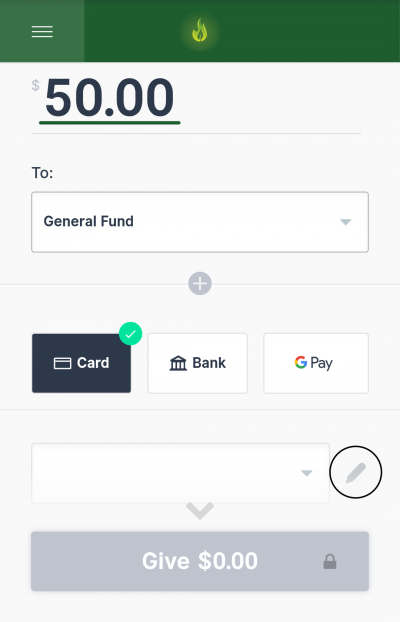
Step 5:
Enter the amount that you like to donate.
Choose the fund you would like to donate to.
Tap the method of payment you’d like to use.
Tap the pen icon on the right of the empty text field to add your payment information.
Using Google, Windows, or Apple Pay will not require you to enter in your payment info within the app.
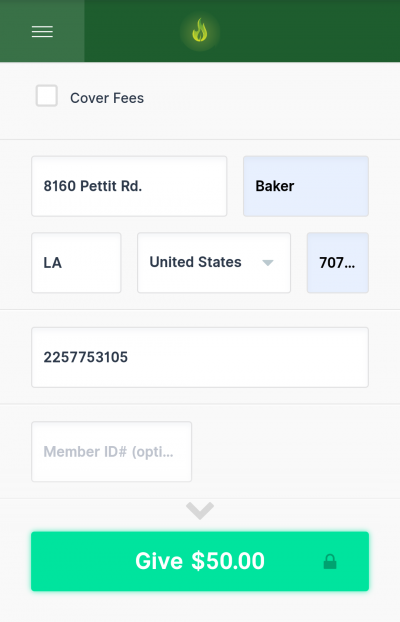
Step 6:
Enter your address and telephone number.
Tap “Give” at the bottom of the page to complete your transaction.
All of the information you have entered is securely stored within the account you’ve created, so it won’t need to be re-entered the next time you log in
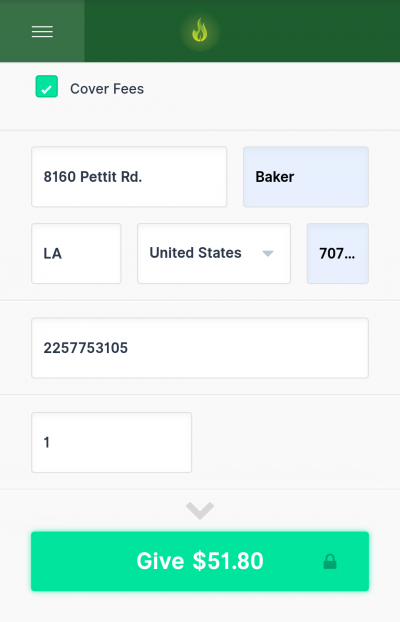
Step 7 (Optional):
There is a text field to enter your member number. Entering this information is optional but does help with bookkeeping.
You may also choose to check the “Cover Fees” box. This adds the transaction fees due to your method of payment to your total.
For example, if you are using a Visa credit card and wanted to donate $50.00 to the church, you would be charged a total of $51.80 to cover the cost of transaction fees.
Transaction fees are as follows:
Non-AMEX Cards: 2.9% + 0.30¢
AMEX: 3.5% + 30¢
ACH/Bank: 1% + 30¢
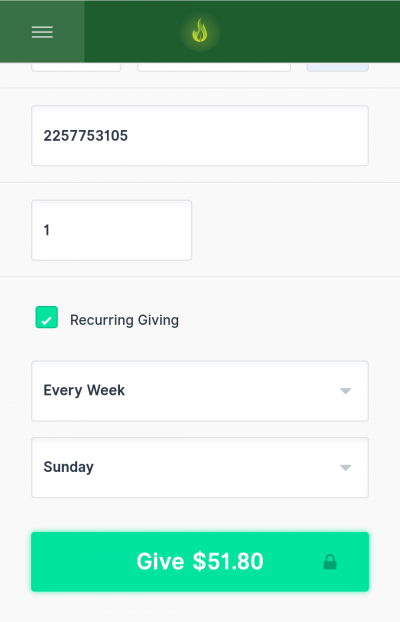
Step 8 (Optional):
If you would like to set up automated giving, check the “Recurring Giving” box. You can choose to automatically give weekly, bi-weekly, monthly, or on the 1st and 15th of every month.
This option cannot be used with Google, Windows or Apple Pay

